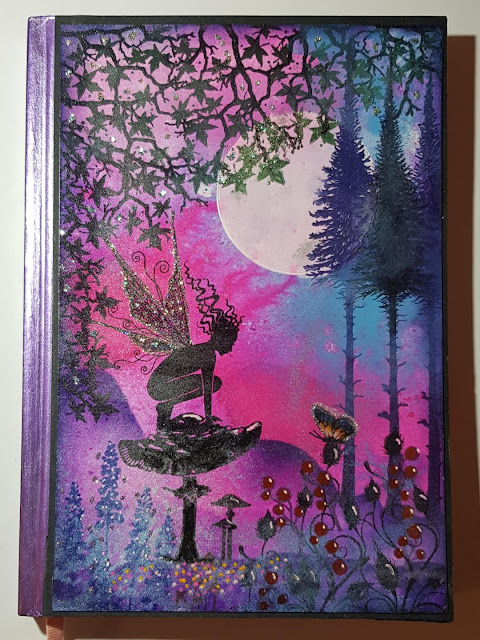
Hello lovely people, I made several Diaries and Notebooks for Christmas pressies for family members and thought I would share one of my creations with you! This is a Planner/Diary my sister asked me to make for her. She had quite a brief such as locked in sparkle so it didn't shed in her bag, a colour palette of her preferred colours, a pocket in the back and a matching back cover. She did provide me with the planner she wanted altering, so there is photo's below of what I did.
So using the planner below, as you can see I painted the spine in metallic Acrylic paint before covering the front and back cover.
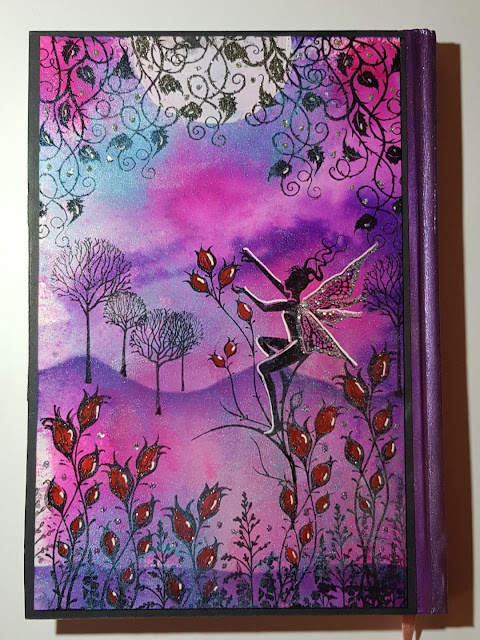
I started by doing some backgrounds using sprays (see recipe below for a full list of products), I made sure the front and back covers matched with the same colours. So then doing the front I created a moon using some Gesso, I stamped my main images in Versafine Clair ink, once they were in place I started adding the hills by using a mask and the foliage and trees. Once my scene was set I added highlights and then lots of sparkle. The back cover was created pretty much the same way. To seal in the glitters I sprayed each one in Crafters Companions Spray and Shine. Here's the back cover:-
I hope you all have a nice relaxing day, I've got to get my son ready to go back to school tomorrow, starting with a haircut.
I'd like to enter this into the following challenges:
1.
Simon says Stamp Monday challenge - Something New - (new Distress Mica Sprays, Lavinia stamps)
Recipe:-
Stamps - Lavinia - mini maple leaf, tree branch, bluebells, fairy bugs, mini berry, meadow mushroom, Jaylar, toadstool, fairy fir tree, thistle, bramble, skeleton tree scene, silhouette foliage set, meadow grass, star blossom, Aurora,
Colouring Medium - Cadence metallic paint, Dylusions sprays, Distress mica sprays, Versafine Clair, posca pens, gesso, Distress oxide sprays,
Tools - signo gel pens, sakura glaze pen, Lavinia hill and moon masks, Crafters Companion spray & shine,
Embellishments - Lavinia Eco glitter, glamour dust,
Thanks for popping by.
Happy crafting
Tracy x

.jpg)
.jpg)

.jpg)
.jpg)
.jpg)
.jpg)
.jpg)
.jpg)
.jpg)
.jpg)
.jpg)

.jpg)
.jpg)
.jpg)
.jpg)
.jpg)
.jpg)
.jpg)
.jpg)
.jpg)
.jpg)
.jpg)
.jpg)